Web Graphics
https://www.sqa.org.uk/files/nu/H61445.pdf
https://www.w3schools.com/default.asp
W3Schools is a great resource - even developers/designers with decades of experience refer to it regularly
Work Sheet
Example of finished Work
HTML
Body
Headings
Paragraphs
Images
Links
Videos
Youtube
Lists
Comments
Header
Footer
Colours
HTML ( Hypertext Markup Language ) can be used to insert content into a website. Commonly home pages take the name of index.html
The general conventions of HTML involve opening a tag in pointy brackets <> and then closing it with a forward slash inside a pointy bracket </tagname>.
As well as the default tags we can surround our code with a <div> and followed by </div> .
We can even rename our divs by usings <div class="custom"> </div> which we can use later in CSS by referring to .custom
CSS ( Cascading Style Sheets ) are then used to ‘style’ the content, or, to change it’s appearance.
Javascript is used to program interactivity and is generally not needed for simple sites.
Body
The majority of our sight content should be included inside a body tag.
This is important as we may wish to change the style of our page later.
<body>

</body>
Headings
Headings are the main way to show Headline text. We can use h1 to h6 for multiple text styles.
<h1>Big News</h1>

Paragraphs
Paragraphs should make up the main body of text content on your page, for example an articles content.
<p>John went to the shops and got a great deal</p>
Images
Images can be inserted using the image tag. We can insert JPEGs, PNGs, GIFs & SVGs using this tag.
<img src="filename.jpg">
<img src="filename.png">
<img src="filename.gif">
<img src="filename.svg">
We can also define an images size by using
<img src="filename.jpg" width="100px">

It is important to consider accessibility when creating a website. The easiest way to do this is to include alt in our image tags. This alternate text can then be displayed or read aloud for those with poor sight.
<img src="image.jpg" alt="photo of a cat">
Links
Links, short for Hyper-links are the foundation of the World Wide Web. They allow us to connect to other relevant information. By default, links appear in blue and are underlined like this link
<a href="page.html">link text<a>
You can also use an image as a link by including an image tag
<a href="page.html"><img src="filename.jpg"><a>
Videos
In order to insert html5 compatible video we use the video tag. We can use .ogg, or, more commonly .mp4
<video>
    <source src="video.mp4">
</video>
Additionally we can add controls by using
<video controls>
    <source src="video.mp4">
</video>
Or we can define the width and height of the video by using
<video width="720" height="480">
    <source src="video.mp4">
</video>

YouTube
In order to embed a YouTube video we need to create an iframe, Fortunately YouTube will provide you with all the code you need.
When you are on a video you can select share, then embed then copy and paste the shown code. Here you can add or remove controls or decide whether the video will autoplay.
   <iframe width="560" height="315" src="https://www.youtube.com/embed/custom" frameborder="0" allow="autoplay; encrypted-media" allowfullscreen>
    </iframe>
Additional parameters can be found at https://developers.google.com/youtube/player_parameters
However, YouTube videos can be difficult to style.
Lists
We can create lists in HTML as follows
For an un-ordered list ( bullet points ) we use <ul>
For an ordered list we use <ol> ( the broser will automatically adjust the numbers )
For each item in the list we <li> ( list item )
For example
<ul>
	<li>One</li>
	<li>Two</li>
	<li>Three</li>
</ul>
Equals
- One
- Two
- Three
<ol>
	<li>One</li>
	<li>Two</li>
	<li>Three</li>
</ol>
Equals
- One
- Two
- Three
Comments
We can use comments in HTML to make our code easier to refer back to or pass on to other people.
We can also use it to “code out” segments that we want to hide while working on a project.
We start a comment with <!-- and finish it with -->.
Anything in between these marks will be hidden.
Header
In HTML the header contains information for the webpage which is not actually shown to the user.
We open with <head> and close with </head>
It is common to include a title, this will show on the tab in the users browser.
<title>Page Name</title>
Other common information found in the header include
<link rel="stylesheet" href="style.css">
Here is an example of the start of a HTML page.
<!DOCTYPE html>
<html lang="en">
<head>
    <meta charset="utf-8">
    <meta name=viewport content="width=device-width, initial-scale=1">
    <meta http-equiv="Cache-control: max-age=1024" content="public">
    <title></title>
    <link rel="shortcut icon" href="icon.png">
    <link rel="stylesheet" href="style.css">
</head>
First line tells the browser that it is reading a HTML document.
The second line defines the language, which is essential for Google listings.
The next line tells the browser the encoding of the text.
The next line ensures that common CSS techniques can scale the page.
The next line asks the browser to check for the most recent version of the page.
The next line defines the page title - which will show on the browser tab
The next line defines the page icon - which will show on the browser tab and Bookmarks/Favourites.
The next line links to the CSS file.
For the purposes of your task your header may look like this
<head>
 <title>My Site</title>
</head>
Footer
A footer is a common convention in web design where the creator and contact details are shown at the bottom of every page.
It is good practice to use the <footer> </footer> tag.
Colours
HTML was written in American English, and, as such all references to colour in it must be made as ‘color’.
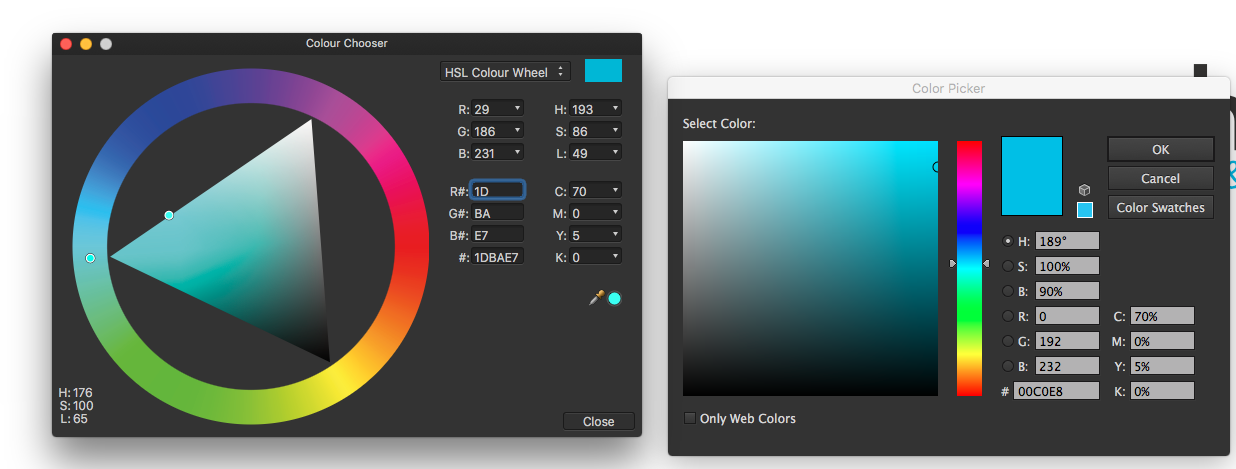
Simple colours in HTML can be referred to by name, for example, black. However, in order to choose from a wide selection of colours and ensure consistancy across devices and browsers we should use the HEX ( Hexadecimal ) code.
Hexidecimal is a system of counting to sixteen by using our normal number set 0-9 and an additional 6 letters. ABCDEF.
For black this would be #000000
This is a light red #E42525
CSS
Backgrounds
Text Styling
Image Styling
Units
Media Queries
Navigation Bar
Comments
Layout
CSS ( Cascading Style Sheets ) is a separate language which allows us to style the HTML content. CSS can be stored in a separate file and applied to multiple pages.
This file is usually called style.css
In order to use a CSS file we must import it into our HTML using the following code in the header.
<link rel="stylesheet" href="style.css">
We can also include CSS in the main file by including it between a style tag.
<style>

</style>
It is not unusual to import a large standard CSS file
The syntax of CSS requires the name of the element followed by a curly bracket, the name of the element, a colon, the unit, a semi-colon and then close the curly bracket
element
{
	element: unit;
}
Backgrounds
In order to change the background of the page we can use the code
body {
    background-color:  black;
}
or
body {
	    background-color:  #000000;
    }
We can also use an image as our background by using
body {
    background-image:  url("back.png");
}
Text Styling
In order to change the font, size, colour and other characteristics of our <h> and <p> tags we can use CSS.
h1 {
   color:  green;
   }
A more advanced example is
h1 {
	font-size: 50px;
	color: green;
	float: right;
	text-align: center;
	}
In order to change the font, we need to add
h1 {
    	font-family: 'font name';
    }
However, this will only work if we import the font first.
We can choose a webfont from https://fonts.google.com/ and use the code
@import url('https://fonts.googleapis.com/css?family=Roboto');
Which is normally put at the top of the CSS above all other elements
Image Styling
In order to style all images on a page we can use img
img {
		width: 30%;
		padding: 5px;
	}
Units
In CSS a variety of units are available to us, we generally start with px for pixels.
However, due to the different pixel densities of screens we can have different results on different devices.
We can use vw or vh for viewport width and viewport height respectively.
These are percentages and will mean that your site will resize dynamically based on the window size.
We call this responsive design.
em is often used, and represents a multiple of the current font size.
p {
    font-size: 50px;
    font-size: 50em;
    font-size: 50vw;
    font-size: 50vw;
	}
Media Queries
Another way to change how our site displays, based on device screen dimensions, is to use media queries.
We define a certain point, after which we can change which CSS is used
@media only screen and (min-width: 768px) {

}
By using this example, we define what will happen when loaded on a smartphone by default. Any CSS inside the above code will effect the page on desktop.
We can add as many of these as we need to target different devices.
Navigation Bar
A Navigation bar is the element, usually at the top of the page, that lets us navigate to other common pages. This is commonly where you will find Home, About & Contact.
A common technique is to create a list and to style it in CSS to create a Navigation Bar.
Here is an example of the code required to create a Navigation Bar
HTML
  <ul>
    <li><a href="index.html">Home</a></li>
    <li><a href="about.html">About</a></li>
    <li><a href="contact.html">Contact</a></li>
   </ul>
CSS
ul {
    list-style-type: none;
    margin: 0;
    padding: 0;
    overflow: hidden;
    background-color: black;
}

li {
    float: left;
}

li a {
    display: block;
    color: white;
    text-align: center;
    padding: 14px 16px;
    text-decoration: none;
}

li a:hover {
    background-color: grey;
}
“li a” here refers to a link within a list

Comments
Just like in HTML we can use comments to make our code more readable. In CSS however we use a different syntax. We start with /* and end with the reverse, */.
/* This makes all images stretch all the way across the width of the screen: */

img {
    width:  100%;
    }
Layout
By using CSS and divs we can create complex page layouts using grids. However, at this point you do not need to worry about this.
Javascript
Javascript is used to program elements of interactivity into a site. It allows us to perform arithmetic and logic calculations and process the results.
Javascript can be held in a separate file which is usually called script.js
In order for us to use a separate file we must import script.js
<script src="myscripts.js"></script>
However, just like CSS we can save our Javascript in the same document as long as we include it inside the script tag
<script>
    onmouseover="this.src='10.png'"
</script>
For your current task you do not need to worry about implementing Javascript.

Uploading
For our purposes we will be using https://neocities.org/
This is a free web host with no adverts that give you a simple URL ( Unique Resource Locator )